How Spectrophotometers Help Maintain Color Consistency in Medical Devices

A plastic component looks perfect on its own. But next to another part of the device, the color feels slightly off. It might be a small difference, yet it can make the whole product look less consistent.
This is a familiar challenge in production: getting the color right once is one thing; getting it right part after part is another.
A color that looks correct on an approved sample may appear different when it is molded into a part, finished with a particular texture, or placed beside another material.
Color measurement in medical device manufacturing gives teams a practical way to check whether a component matches the approved color, instead of relying only on how it looks under the lights in the room.
A clearer way to compare colors
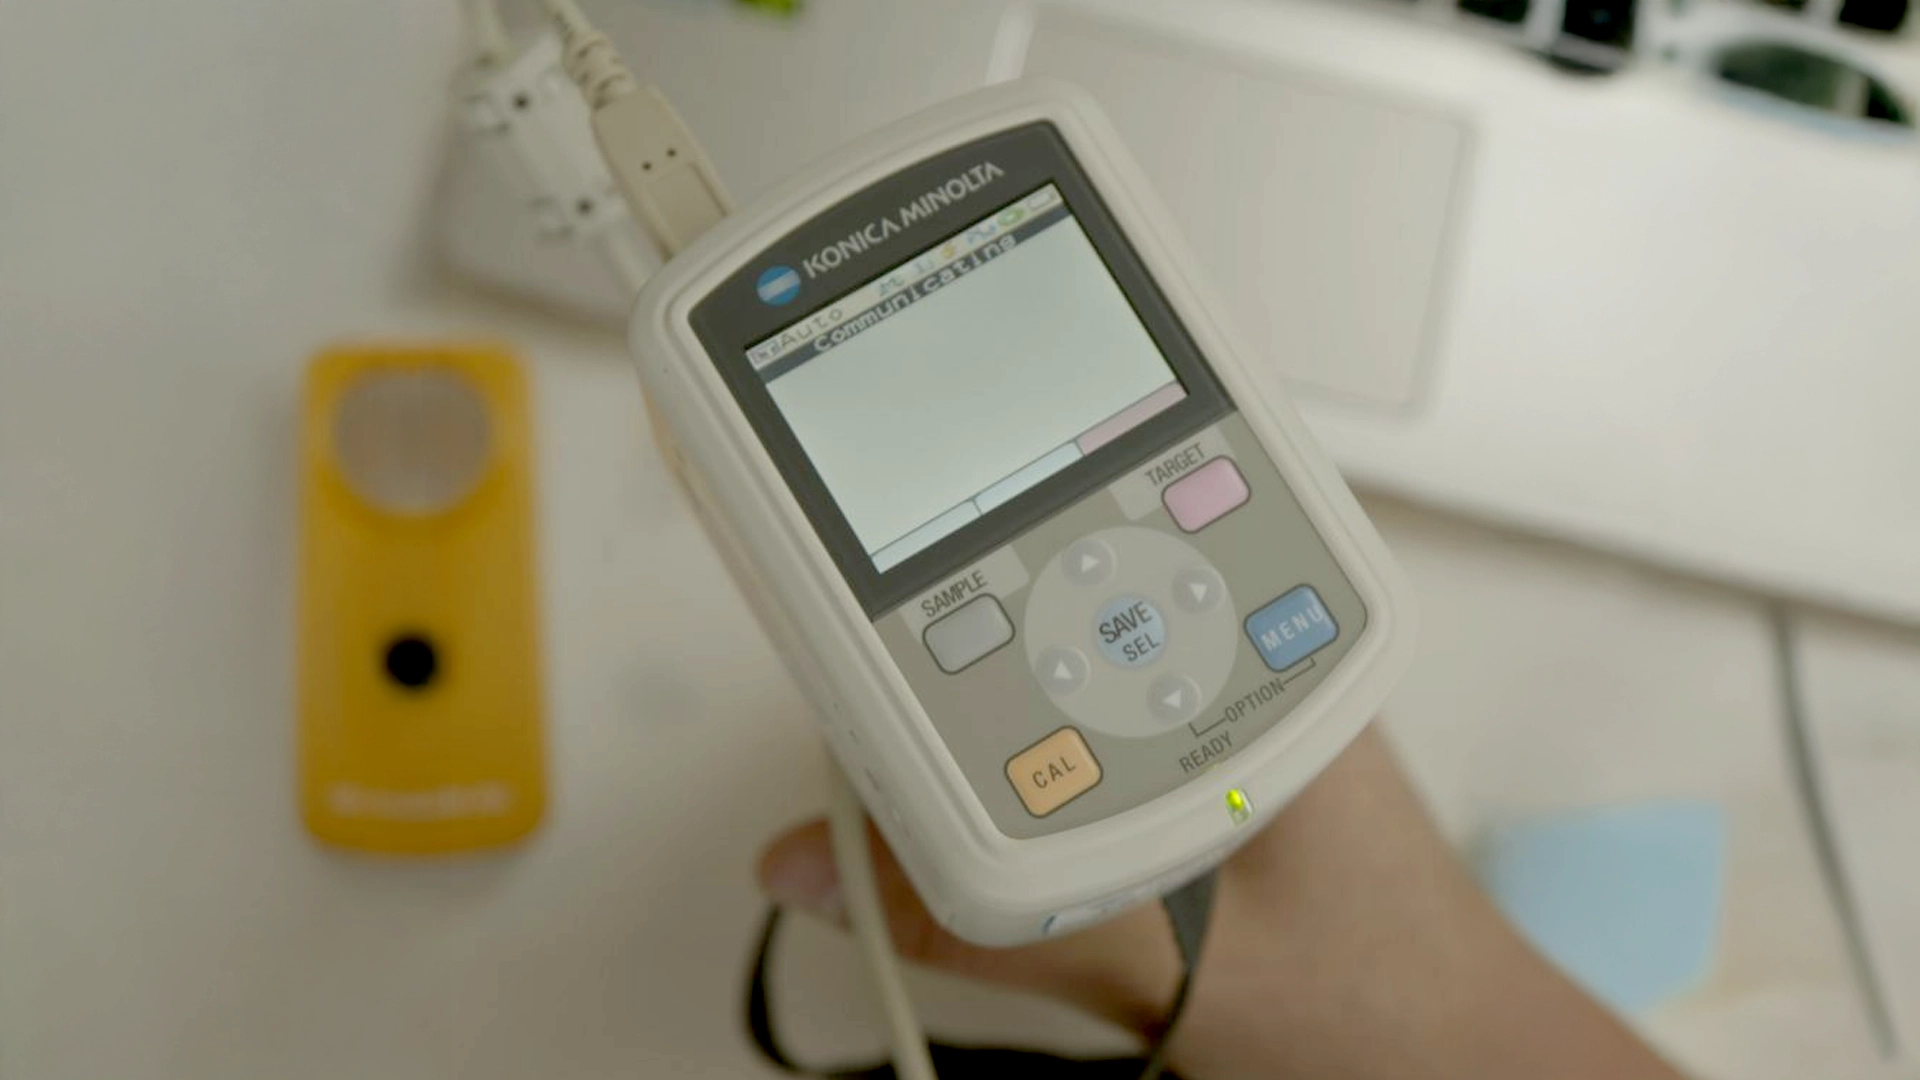
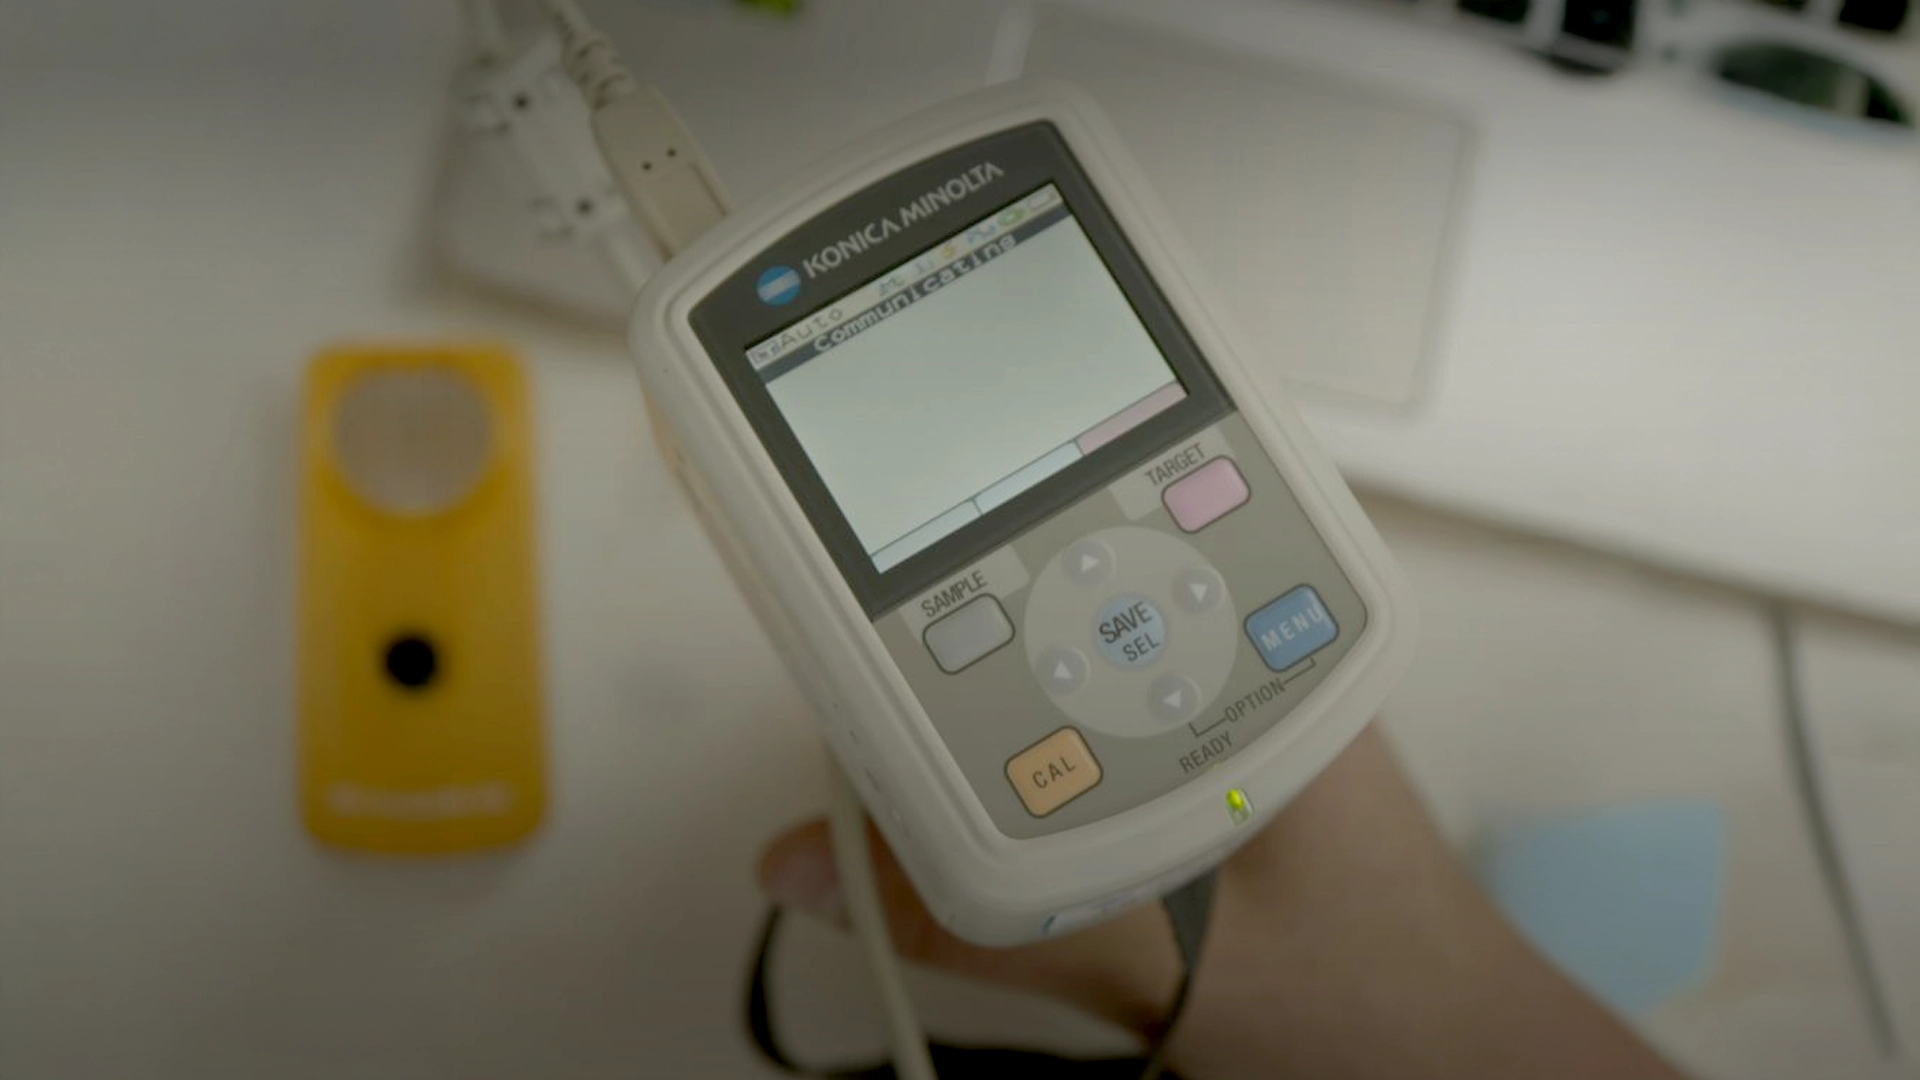
A spectrophotometer shines light on a sample and measures what happens to that light. The instrument turns the result into color values that can be compared with an approved reference.
The difference is often shown as ΔE. In simple terms, a smaller number means the sample is closer to the reference under the chosen measurement conditions.
That gives design, production, and quality teams a shared way to discuss color. It’s easier to investigate a measured difference than to agree on whether something looks “a little darker” or “slightly warmer.”
A measurement doesn’t make visual checks unnecessary. It gives teams another way to assess a sample, especially when they need to compare parts over time or communicate about a difference between teams or suppliers. Konica Minolta Sensing
Why can the same color look different?
The material matters, but it isn’t the only factor. A component’s surface, gloss and shape can affect how its color appears. Lighting matters too. A smooth surface and a textured one may not look exactly alike, even if they use the same color.
The effect can become more noticeable when different parts meet in the finished device. A slight variation may be hard to spot on an isolated component but easier to see when two parts sit next to each other. That’s why teams often need to think about how components will look together, as well as how each one looks on its own.
Looking at a part is a useful first check, but it may not tell the whole story. For a fair comparison, teams need an agreed color reference and should measure both the reference and the production sample in the same way. KONICA MINOLTA
How teams check color during production
The process starts with a reference: the sample or color standard the finished part is expected to match. Before production begins, teams can agree which part of the component to measure and how the measurement will be taken.
The method depends on the part. For an opaque component, the instrument measures light reflected from its surface. For a transparent or translucent part, it may measure light passing through it.
Teams can then compare production samples with the reference and check whether the difference is within the agreed tolerance. If it isn’t, the result gives them a starting point for investigating what may have changed. They might look at the material, the surface or the process, depending on the part and how it is made.
The important thing is to compare like with like. The measurement area, angle and surface finish can all affect the reading, so the setup needs to stay consistent. Otherwise, teams may be comparing the effect of different measurement conditions rather than a real difference in color.
From spot checks to measurements on the production line
Some teams use benchtop instruments for lab or quality checks. Portable spectrophotometers make it easier to take measurements directly to larger parts or production areas.
For some continuous processes, in-line, non-contact spectrophotometers can check color as production runs. The system can flag a change so operators can look into it. Some setups can also use measurements to adjust the process automatically. X-Rite
Hyperspectral imaging takes a different approach: a camera captures color-related information across a larger area, rather than checking one spot at a time. It can be useful for tasks such as identifying or sorting materials, especially when they look similar to a standard camera. It isn’t needed for every color check. Konica Minolta
The best option depends on the part and the production process. A lab check, a portable instrument and an in-line system each suit different situations. The aim is to choose a method that fits the component and gives teams information they can use.
Getting the color right starts early
Color is easier to manage when teams agree on the reference and the measurement method before production scales up. Design, engineering, production, and quality can then work from the same expectations.
That early conversation can also help teams spot practical questions before they become production issues: where should the component be measured? Will the surface finish affect its appearance? How will the parts look once they are assembled?
It’s a simple step that helps connect the color chosen for a product with the parts that come off the production line.