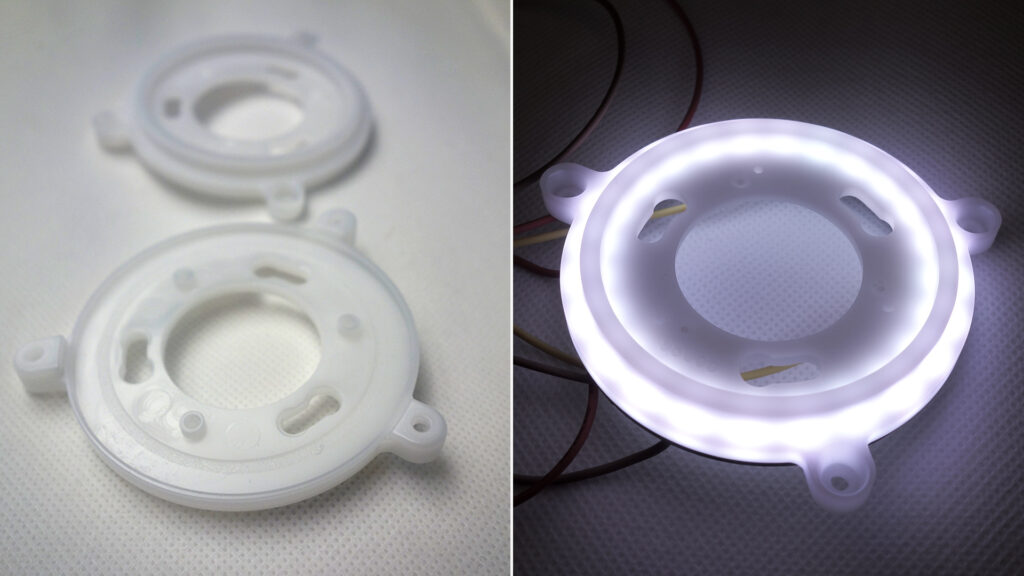
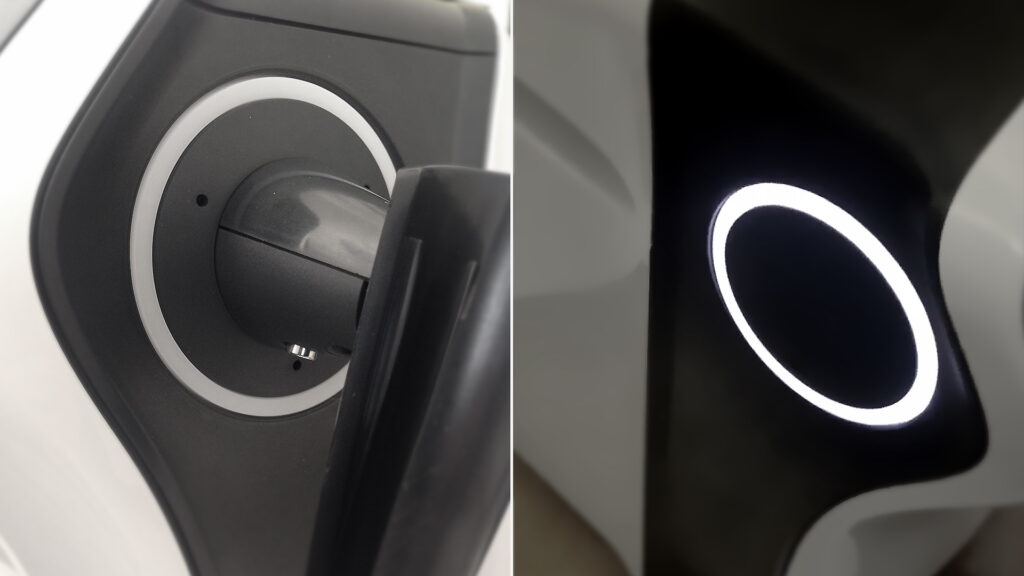
You’ve probably seen light guides in automotive lighting, healthcare devices, or consumer products. A light guide (or light pipe) is a component designed to redirect light from a source to a different location, allowing it to be transmitted with minimal loss while bending it to illuminate areas that would otherwise remain poorly lit. So, the main functions of a light guide/pipe in healthcare devices and other applications can be summarized as:
- Extending the Reach: In products like dashboards or control panels, light pipes transport light from an LED to illuminate specific indicators or buttons, offering uniform brightness from a distant light source.
- Improving Diffusion: Light guides ensure smooth light diffusion by eliminating hot spots, which is essential for uniform lighting in medical device indicators.
- Bending the Light: Light guides bend light around corners or follow precise profiles, making them ideal for compact healthcare designs where direct illumination isn’t feasible.
Designing and prototyping light guides and diffusion in healthcare devices with SLA, CNC, and FDM is crucial to verify proper fit, performance, and visual quality. To support this, Creanova applies and tests key fabrication methods tailored for medical applications.
Using FDM for Light Guide Prototyping
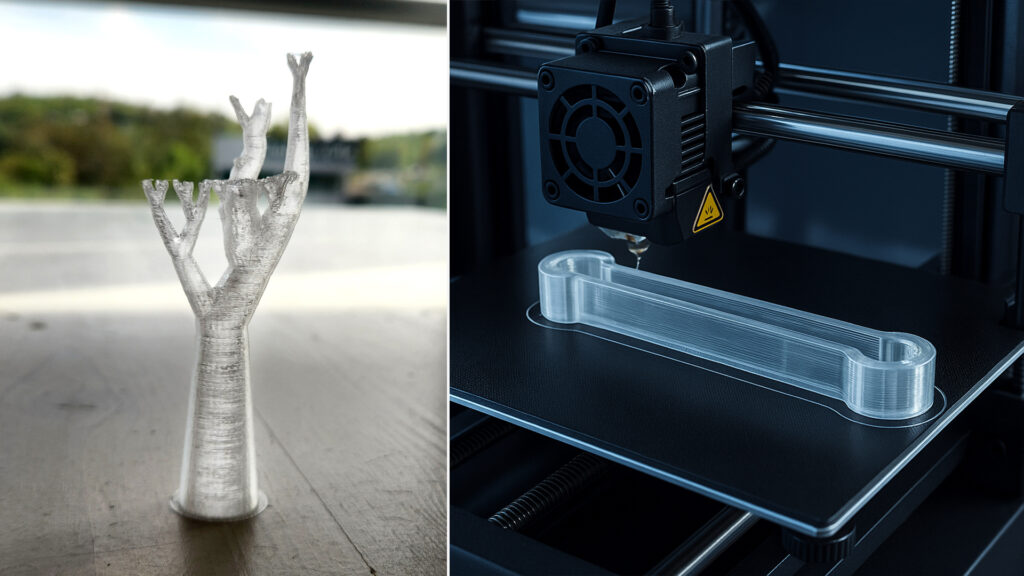
FDM (Fused Deposition Modeling) is mostly applied during concept validation, where low cost and speed are prioritized over optical performance, especially in early development stages.
FDM uses thermoplastic filaments such as PLA or PETG, which can be printed layer by layer.
Material Considerations: While FDM is more accessible, it’s not always ideal choice for functional light pipes due to its bad surface finish. Transparent filaments e.g., clear PLA or PETG can be used for light pipes, but FDM’s layer-based process often results in visible patterns that can scatter light before, reducing visible performance.
Advantages: FDM is most affordable and allows for really quick iterations. Here Designers can test light guide geometry to evaluate how light is transmitted roughly through different shapes or judge how the guide fits within product assembly.
Limitations: The rough surface quality due to layering of FDM prints leads to scattering. Post-production, like sanding, vapor polishing, is mostly required to increase the light transmission, but even after that, FDM still may not offer the best clarity for prototypes.
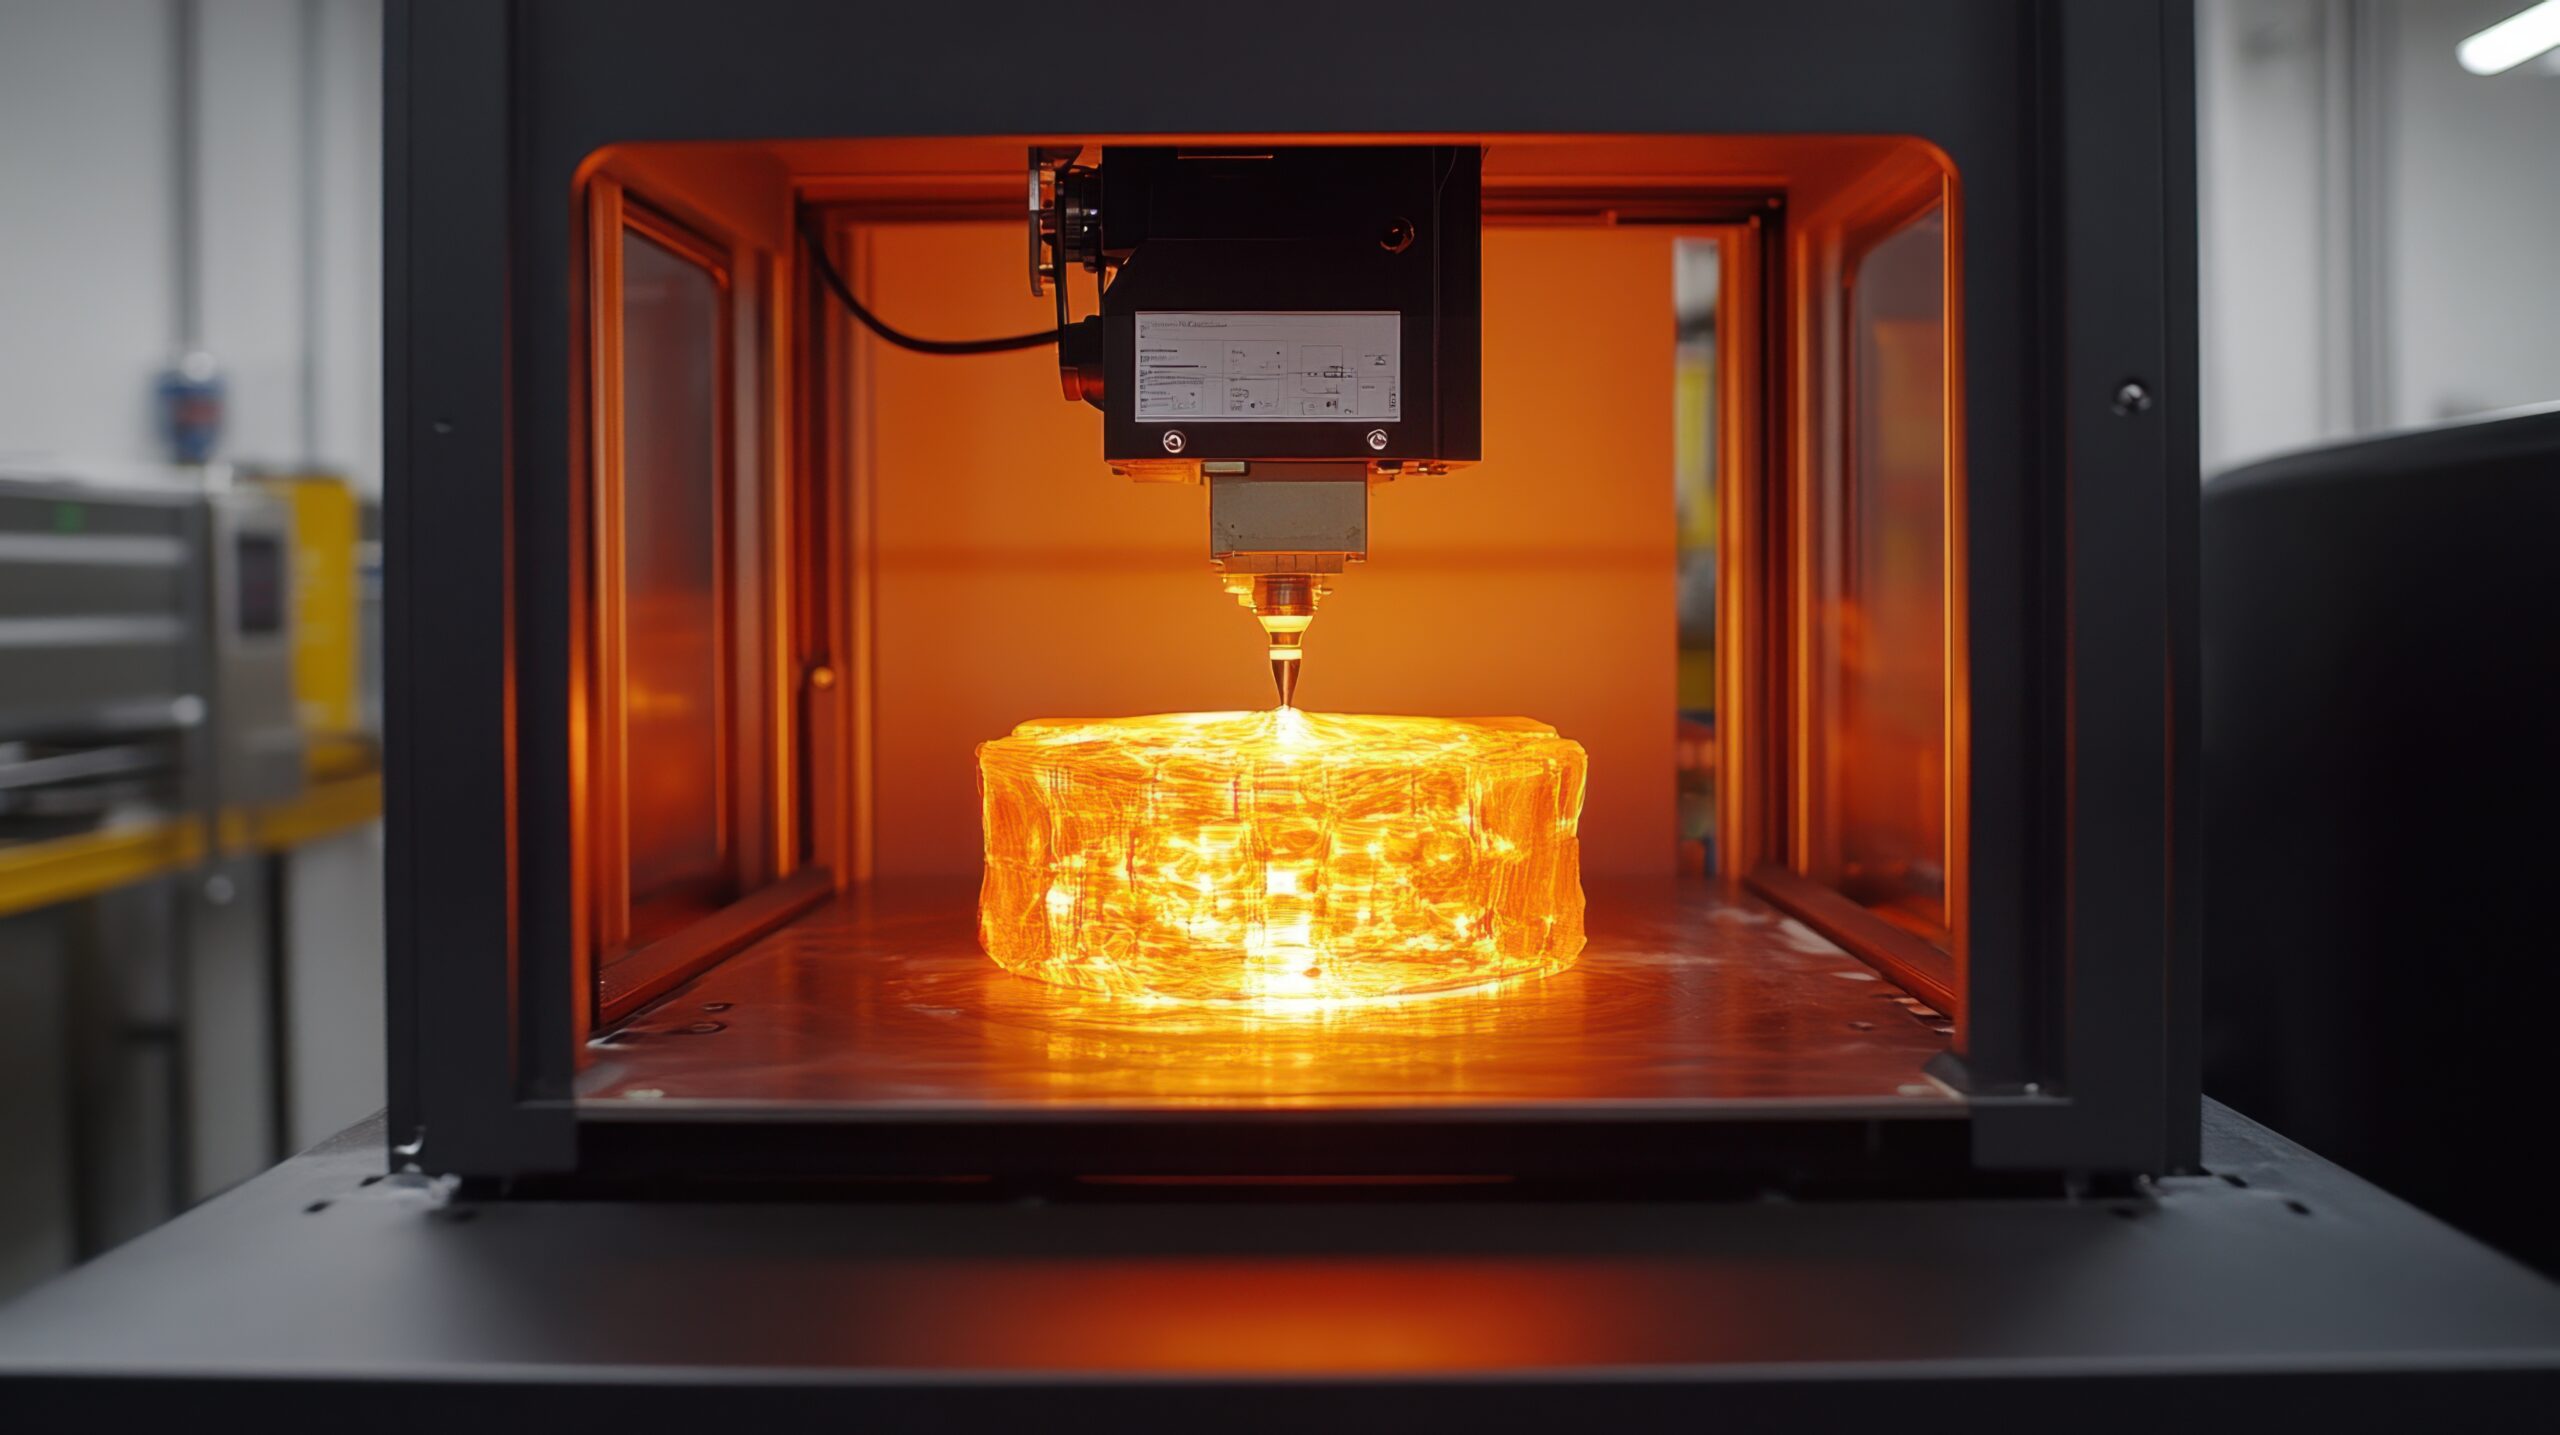
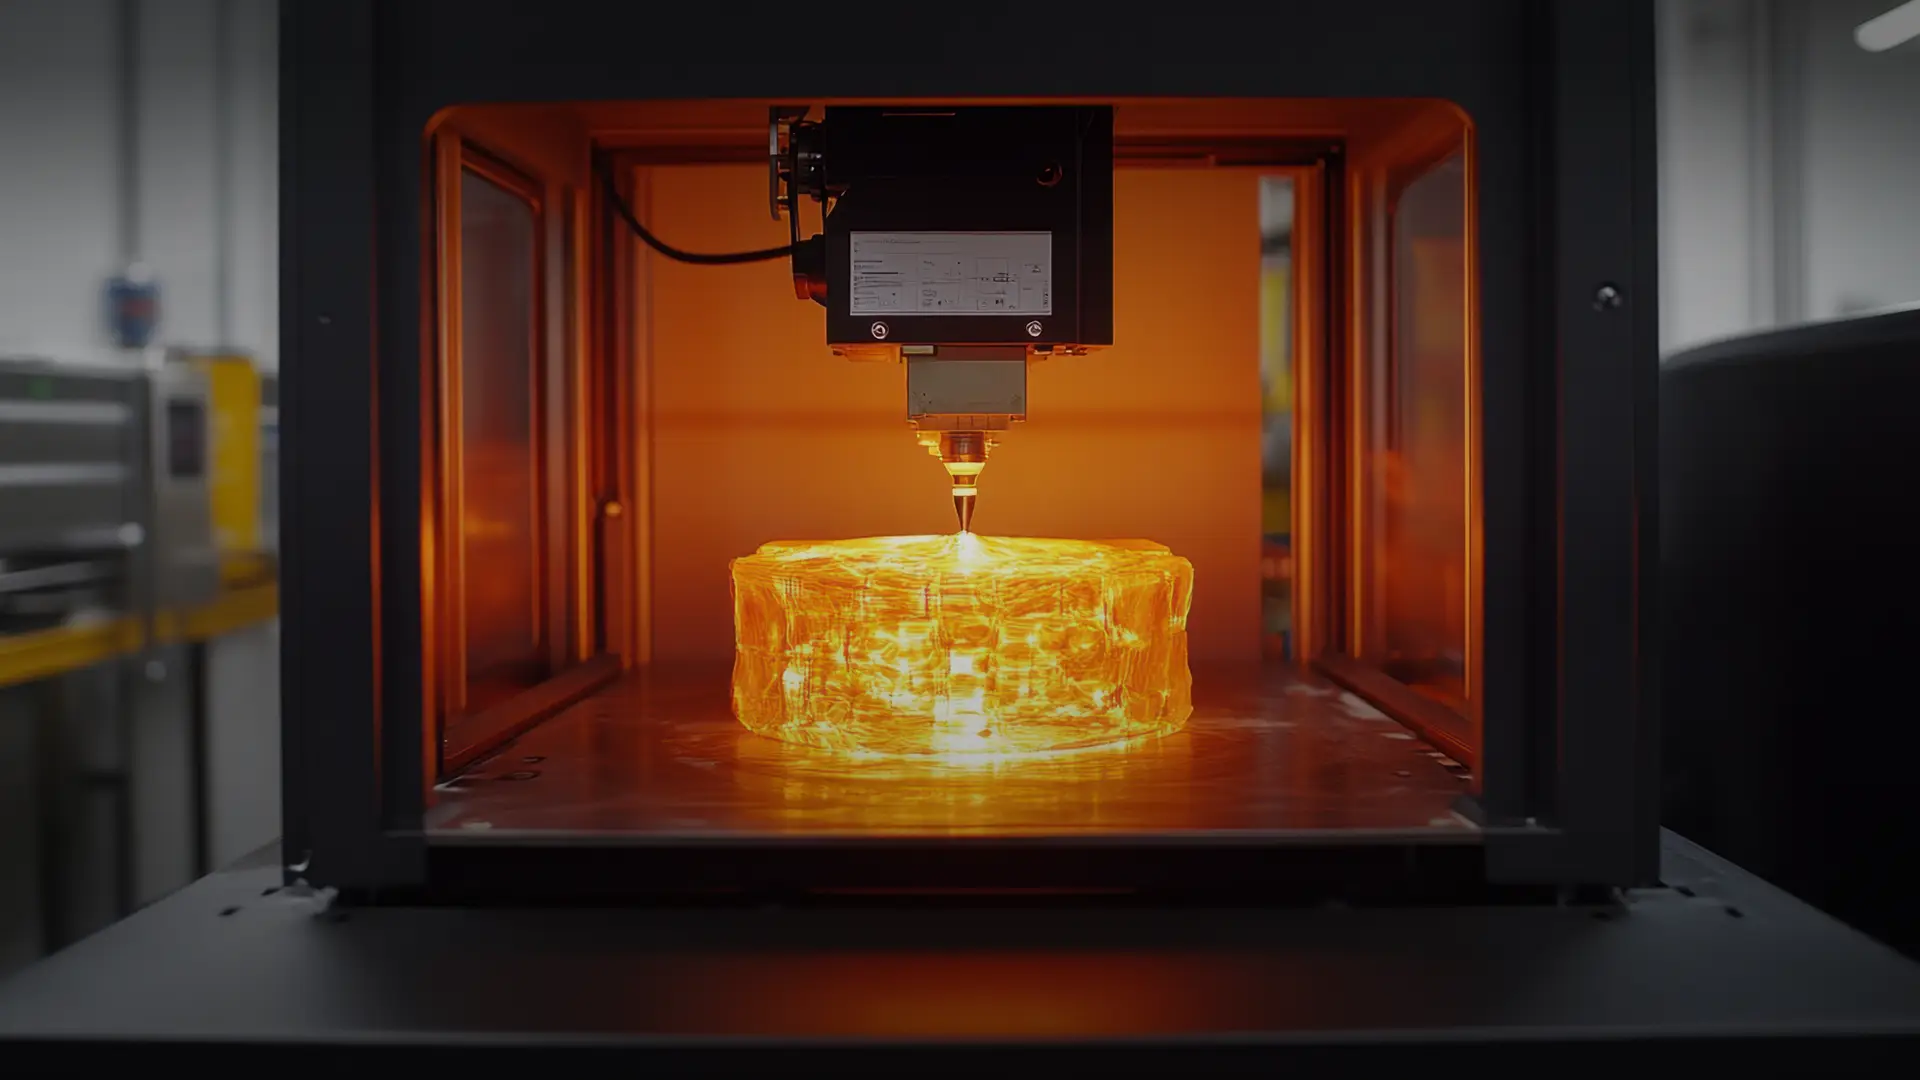
Using SLA for Light Guide Prototyping

SLA short for Stereolithography is one of the best methods for prototyping light guides, with high accuracy and smooth surface finish main aspect for effective light transmission. SLA basically uses a laser to cure liquid resin that can be formed into complex shapes.
Material Choices: Transparent resins used in SLA offer an excellent optical clarity.
These resins provide greater light transmission compared to FDM, making it an ideal choice for functional prototypes where light efficiency and diffusion are essential.
Some of the recommended available materials are VeroClear, Accura 60, Accura Clearview, Form labs Clear Resin that provides close to production part performance.
Advantages: SLA offers higher resolution and smoother surfaces, making it appropriate for designing light guides with complex shapes and bends that distribute light evenly with minimum loss or distortion.
Limitations: SLA parts also require little post-processing to enhance their transparency. After printing, the parts need to be polished to optimize optical performance, but they can provide near-final functionality for light guide.
CNC Machining for Light Guide Prototyping
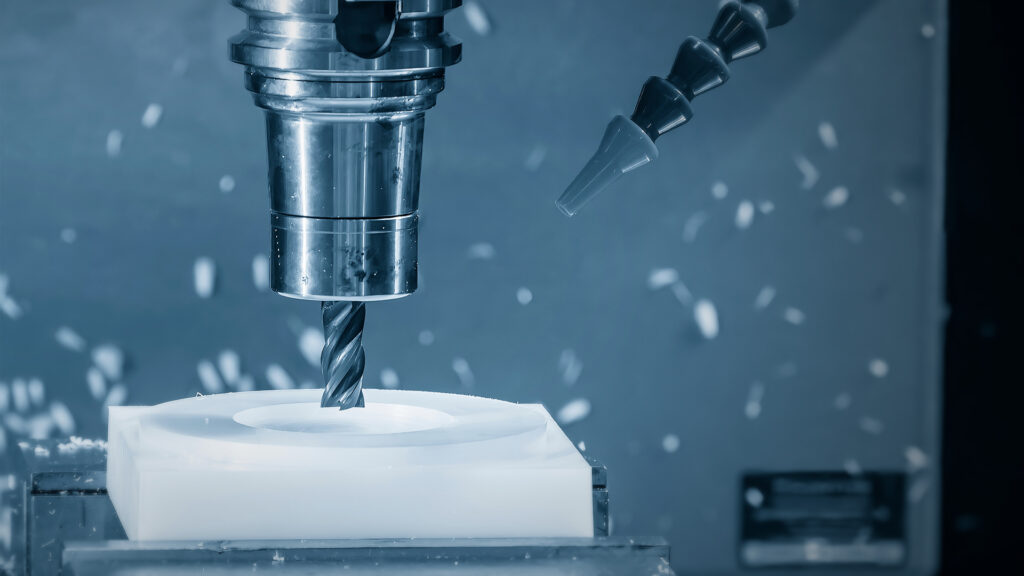
CNC machining is a process where we remove material from a solid block to create precise parts. CNC machining is best chosen for high-precision, robust prototypes, especially where it also serves mechanical application or a final performing prototype especially for exhibitions (here at Creanova).
Using CNC for light guide prototyping, provide you high-precision parts and durable materials.
Material Properties: One of added material for light guides in CNC is POM that offers a translucent finish, excellent mechanical strength and good dimensional stability, making it a viable option for light guides that require both durability and optical performance. For more transparent applications you can also use PC, PMMA.
Advantages: CNC machining provide smooth, accurate surfaces which transmit light effectively. And to increase the transparency further the pieces could be sandpaper polished or fumigated. This process is also useful in cases where light pipes that need to endure mechanical stresses e.g. integrated buttons
Limitations: CNC machining is expensive compared to other methods like FDM or SLA, especially for complex designs. Also, the time require is much greater than other processes.
Design Considerations for Light Guides
Designing effective light guides requires careful attention a lot of factors like material choice, geometry, and manufacturing methods to ensure proper light transmission, diffusion, and manufacturability.
Some of which are:
- Entry Point: The goal on entry point is to capture as much light as possible. One of easiest way to do so by encapsulating LED (light source) within the input face of your light guide.
- Exit point: By adding rough texture or abrasion to the exit surface allows maximum escaping of the light from the guide. This eliminates the possibility of light getting reflecting inwards. To do so the exit surface can be matte textured by sanding or printing.
- Outer Surface: To avoid the light scaping from unrequired area make sure the outer surface of Light guide is as reflective as possible.
- Light Bending: Effective light guides control how light is bent by avoiding sharp corners. Sharp corners can cause Total internal reflections (TIR), reducing efficiency, so gradual curves or 45-degree chamfered corners designs are preferred. Light guides should be created with smooth transitions to prevent hotspots and ensure even diffusion.
- Material Selection: Transparent materials such as acrylic (PMMA), polycarbonate, or specialized resins for SLA are best for light guides.
- Post-Processing: Post-processing is one of key aspect for achieving optimal clarity & performance. Techniques such as polishing or clear coating can improve the optical performance of light guides by reducing surface imperfections.
- Manufacturing Constraints: In prototype technologies, FDM is most suited for concept and dimensional verification. SLA is highlighted for its superior optical quality, while CNC offers durability and precision.
In conclusion, designing and prototyping light guides and diffusion in healthcare devices with SLA, CNC, and FDM requires a careful balance of material selection, manufacturing methods, and design considerations to ensure optimal performance. Whether you’re extending the reach of light, improving diffusion, or bending light within complex geometries, choosing the right prototyping method—be it FDM, SLA, or CNC—plays a crucial role in achieving success.
At Creanova, we specialize in creating high-quality, functional prototypes that meet the rigorous demands of healthcare device development. From initial design to final production, our team has the expertise and tools to help you optimize technical components like light guides for both performance and manufacturability.
Contact Creanova today to discuss your project needs and discover how we can support your development journey every step of the way.